“Smart” Sharpening, Redux
| Before | After |
|---|---|
 |
 |
In my older tutorial Smart Sharpening with The GIMP I describe several techniques for selective sharpening of digital images to avoid exacerbating sensor noise and film grain. This technique does two “smart” things to avoid sharpening noise:
- sharpens only the luminosity data in the image, thus avoiding shifts to the hue and saturation components (which affect color), and
- targets only the edges in the image, avoiding large smooth areas that may contain noise.
In this tutorial I describe a variation on the technique that uses layers, which confers the following advantages over the original method:
- it does not modify the original image, which remains unsullied on its own layer;
- it is less laborious, with fewer steps;
- it avoids a costly mode change to HSV and back to RGB for unsharpened areas (see older tutorial for an explanation of this);
- it reserves sharpening for the final step, which allows better experimentation with sharpening parameters; and
- it provides an additional level of fine-tuning over the final result (see Tips).
All in all it is a far superior method to the old. Nevertheless, if you haven’t read the original tutorial, you may wish to do so now.
Giving credit where credit is due: I did not come up with this method. I adapted it for The GIMP from a sharpening article by Bruce Fraser on the creativepro.com web site.
The Procedure
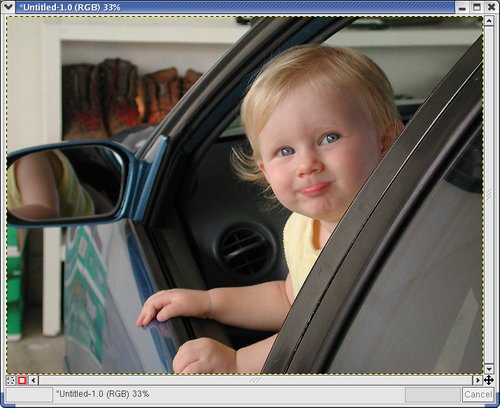
| Here’s the original image loaded into the GIMP. It is noticeably soft, probably due to bad autofocus. It really shows up in prints.Note: be sure to do any other editing that you want to on the image first, especially downsampling or upsampling (resizing). Sharpening should always be the last step that you do.
Duplicate the image by pressing Ctrl+D or right-click and select Image/Duplicate. Mimimize the duplicate image or move it to the side; we will use it in a bit. |
 |
||||
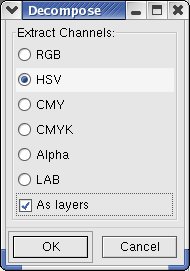
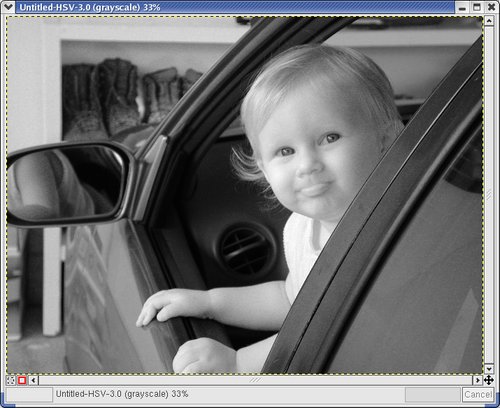
| Right-click on the original image and select Image/Mode/Decompose. In the decompose dialog box, select HSV. Check the “As layers” checkbox if you have it (see Note 1) and click OK.This will create a new window with the image decomposed into the Hue, Saturation and Value (“brightness”) channels as 3 layers. This will allow us to isolate and sharpen the value channel.
Note 1: in the older version of the decompose plug-in there is no “As layers” checkbox; instead it will create the three channels as separate windows rather than three layers in one window. It really doesn’t matter if you do it this way; the layers way just reduces the clutter on your screen. If you don’t have the “As layers” option, I suggest you close the hue and saturation windows. |
|
||||
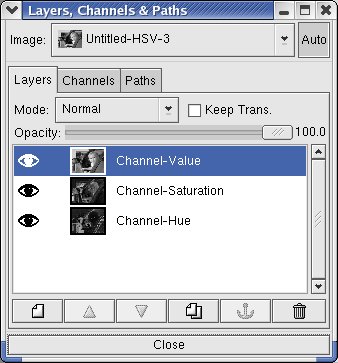
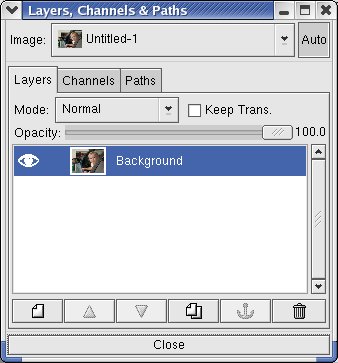
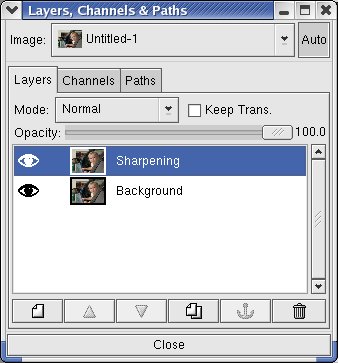
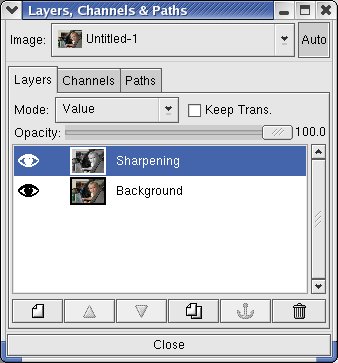
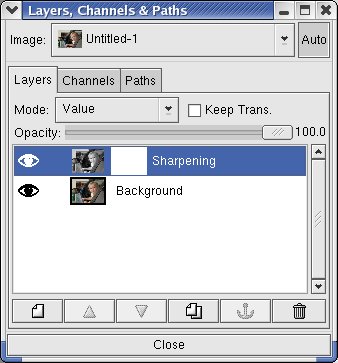
| Open the Layers dialog (Ctrl+L) and make sure that the original image is listed in the drop-down box. Right-click on the Background layer and select Duplicate (there is also a button for this in the bottom button bar of the Layers dialog ( Make sure the Sharpening layer is selected in the Layers dialog. Go to the image window containing the Value image. Select All and Copy (Ctrl+A then Ctrl+C). Move your cursor back to the original image window and Paste (Ctrl+V). In the Layers dialog, anchor the pasted image into the Sharpening layer using the Anchor button ( Finally, select “Value” as the blend mode (“Mode” drop down box in the Layers dialog). This applies the Value component of the upper layer to the Hue and Saturation components of the lower layer to form the viewable image. Your image should now look identical to the original image, but your Layers dialog should look something like below right. |
|
||||
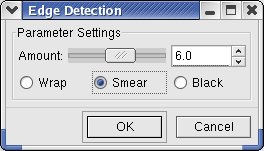
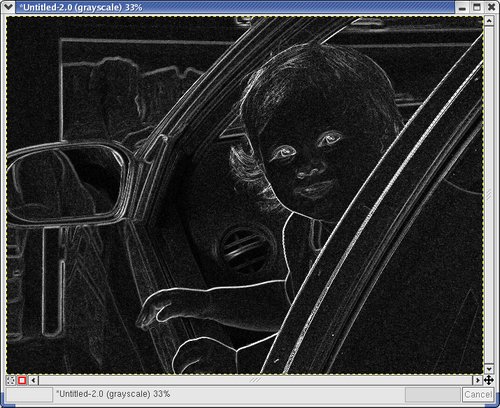
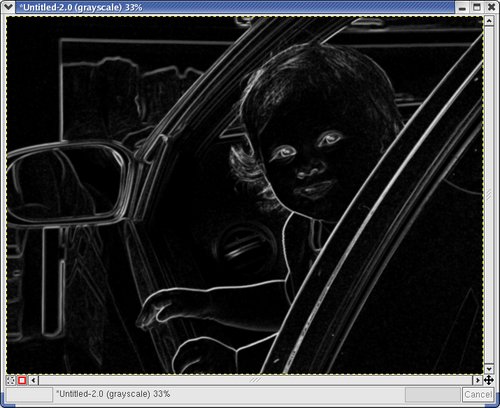
Creating an Edge MaskGo to the duplicate image that has been waiting patiently for you. Right-click and select Filters/Edge Detect/Edge. In the Edge Detect dialog box, select a parameter value of the appropriate size for the edges in your image. You may need to experiment with this. For the example image I chose 6.Now convert the edges image to grayscale by right clicking on it and selecting Image/Mode/Grayscale.Note: in some tutorials they recommend converting to greyscale and then running the edge detection filter. The premise there (my guess) is that perhaps you don’t want to find noise as edges. My thinking is that there may be an edge in color, but not tonality (e.g. transition between two light colors). Once you have converted to greyscale you may not be able to detect that edge any more. Besides, with a high enough edge detection parameter (here 6) you will avoid detecting random CCD noise as edges. |
|
||||
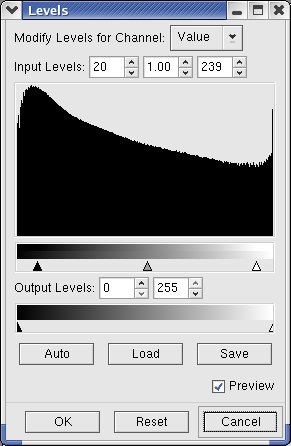
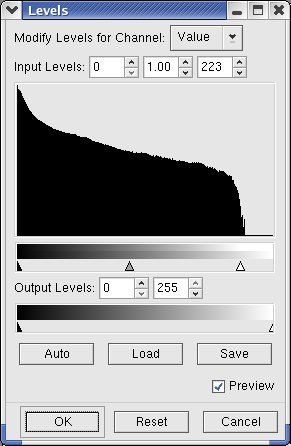
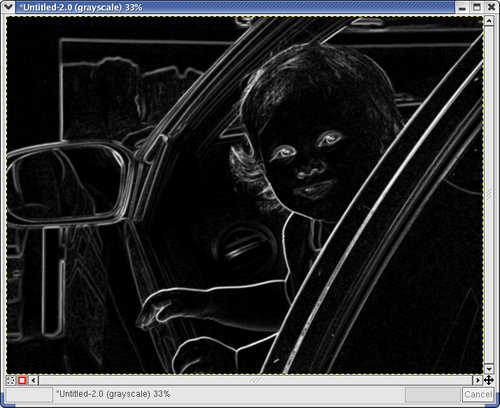
| The next step is to adjust the tonality of the mask a little so that areas that need sharpening are really white and anything that doesn’t need sharpening at all is really black.Open the Levels dialog (Image/Colors/Levels). Bring the black point up and the white point down to filter out any insignificant edges. You may need to play around with the exact positions of the sliders. Click OK when the image outlines the significant edges in white and most everything else is black.
How much you’ll need to tweak this really depends on the image. There wasn’t a lot of spurious edges shown here, so a small adjustment was all that was necessary. |
|
||||
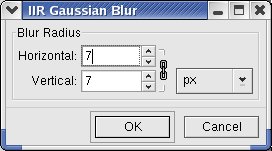
| Now apply a gaussian blur (Filters/Blur/Gaussian Blur) to smooth out the edges a little. A radius of between 3 and 10 pixels (horizontal and vertical) should be enough. In the example I used 7. |
|
||||
| If you want to you can use Levels again to adjust the white and black points of the mask. I find this is usually a good idea after the blur.In this example I pulled the white point slider down a bit. |
|
||||
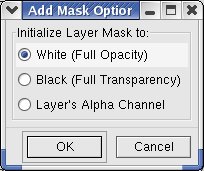
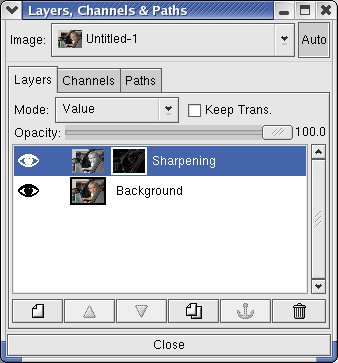
| In the Layers dialog, make sure the original image is selected in the drop down box. Right-click on the Sharpening layer and select “Add Layer Mask”.In the Add Mask Options dialog, select white (Full Opacity) and click OK.
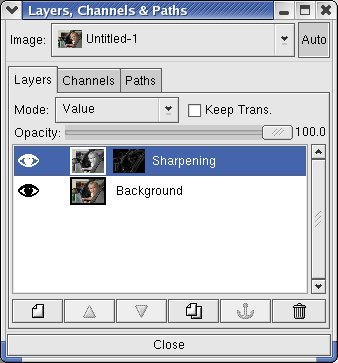
Go to the edge mask image, Select All and Copy (Ctrl+A then Ctrl+C). Now go to the original image window and paste (Ctrl+V). In the Layers dialog, click the Anchor button to anchor the edge mask into the layer mask. At this point, the only part of the second layer that is affecting the overall image is the luminosity of the edges. |
|
||||
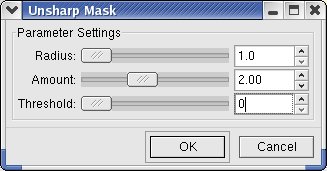
| Important: in the Layers dialog, click on the thumbnail icon of the Value image in the Sharpening layer to select it instead of the layer mask (otherwise you will just be sharpening the layer mask and not the image). You should see a little white border around the thumbnail that shows it is selected.Apply an unsharp mask (Filters/Enhance/Unsharp Mask). You may want to experiment with the settings here. You will find that you can use much higher amounts of sharpening (than if the layer were unmasked) without significantly degrading the image.
In the example here I used Radius=1, Amount=2.0 (200% ?), Threshold=0. Now zoom in (= key) to examine the results (it’s very helpful to examine at a 100% view). If you’re not happy with the results, undo and try the sharpen step again (Alt+Shift+F) with different parameters. You can reopen the original image in a separate window for comparison, or toggle the visibility of the Sharpening layer in the Layers dialog to view the image with and without the sharpening. When you are satisfied with the result you can close all the extraneous windows. |
|
||||
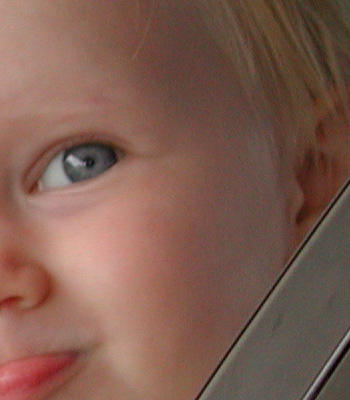
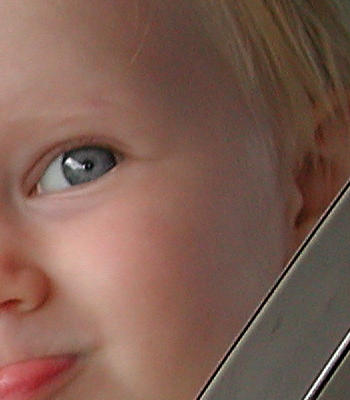
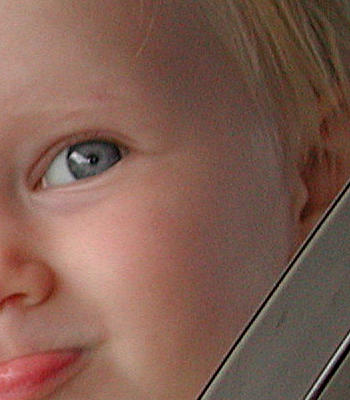
The images on the right are zoomed to 100% and cropped:
The smart sharpened image hardly shows any additional noise over the original image. Notice how the “regular” unsharp masked version at half the sharpening amount has much more visible noise, especially in the shadows on the side of the face and in the door frame of the car. |
|
Tips
- For fine-tuning the sharpening even further, over-sharpen slightly and then adjust the Opacity slider on the Sharpening layer (in the Layers dialog) to get just the right amount of sharpening to suit.
- When you get to the sharpening step, consider opening a new view (View/New View) on the image. Have one of the views zoomed out and the other one zoomed in to 100%. This prevents a lot of zooming if you are trying out different sharpening parameters.
Other Examples
This example is kind of contrived. It doesn’t really need much sharpening in the first place, and the smart-sharpened version looks over-sharpened. I include it here mainly because it is pretty noisy, so it really shows what happens when you sharpen noise, and how the smart sharpening technique doesn’t affect the noise. For details on reducing CCD noise (using this image as an example), see this tutorial.
Original (pretty noisy): |
Standard unsharp mask: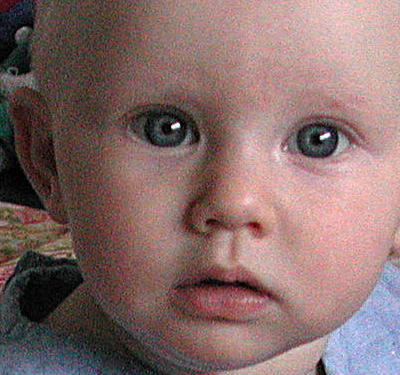 |
Smart sharpened: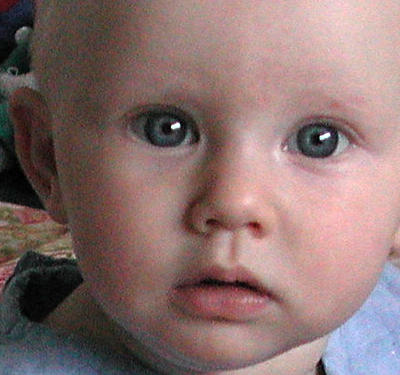 |
|
Further Reading
- Almost Everything You Wanted to Know About Sharpening in Photoshop
- Follow-up article to the above, A Two-Pass Approach to Sharpening in Photoshop
- Follow-up to the follow-up, where the layer technique is explained Thoughts on a Sharpening Workflow.
- A technical explanation of unsharp masking (very good!).
- Fred Miranda: The Ultimate Sharpening Technique




[…] I’ve found that the Smart Sharpening workflow described here can give really stellar results. But I’m lazy, and was interested in a way that I could […]
Pingback by Smart Sharpening in Imagemagick « A Story Worth Telling — March 28, 2011 @ 2:55 pm
Great tutorial! And great site in general – I’m sorely in need of an in depth GIMP tutorial site such as this.
One little thing: you say we should go to Image -> Mode -> Decompose. For me, in version 2.6.11, I found this under Colours -> Components -> Decompose.
-Xander
Comment by Xander314 — July 24, 2011 @ 8:13 am